Can You Self-Install a Car Tracker?
Most car owners rarely spare a thought for vehicle security—until it’s too late. With car theft and vandalism on the rise, investing in a GPS car tracker is a smart move to monitor your vehicle’s real-time location and movements.
While many trackers call for professional installation, plenty of models are designed for DIY setup. Read on for our step-by-step guide to installing a GPS tracking system yourself. With simple tools and a bit of patience, you’ll have your tracker up and running in no time.
How to Install a GPS Tracking System on a Car
Keep in mind that installation steps can vary slightly by brand, but most GPS trackers follow these core procedures:
1. Choose the Optimal Placement
The first step is to pick a spot for your tracker—signal strength is make-or-break for performance. The device needs unobstructed access to GPS satellite signals and cellular networks to function properly.
Here are the best placement options:
- Inside the trunk
- Under the car seats
- Inside the glove compartment
- Behind the interior door panel plastics
- Inside the dashboard
- Within the bumper
- On the dashboard or rear parcel shelf
- Attached to the roof
If you’re using a battery-powered tracker, ensure the location allows easy access for regular charging.
2. Connect the Tracker to a Power Source
GPS car trackers fall into two categories: battery-powered and hardwired—and the installation difficulty varies drastically between the two.
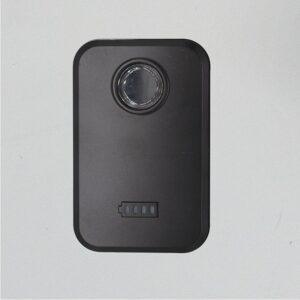
Battery-Powered Trackers (DIY-Friendly)
This is the go-to option for self-installation. No wiring or technical skills are required—simply place the device in your chosen spot and charge it periodically. It’s that straightforward.
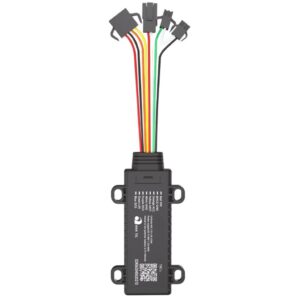
Hardwired Trackers (Professional Installation Recommended)
Hardwired trackers connect directly to your car’s electrical system for continuous power, but the installation process is complex. Improper wiring can lead to tracker malfunctions or even damage your vehicle.
If you do attempt hardwired installation, follow these steps carefully:
- Locate a constant 12V DC power source to connect the tracker’s wiring harness.
- Strip about 1 inch of insulation from the power source’s red wire, then poke a hole through the wire to create a small loop.
- Strip 1 inch of insulation from the tracker’s red power wire.
- Twist the exposed end of the tracker’s red wire and insert it into the loop on the car’s power wire. Squeeze the loop shut and wrap the connection tightly with electrical tape.
- Find the vehicle’s ignition wire and connect it to the tracker’s white wire.
- Finally, connect the tracker’s grounding wire to the car’s grounding point.
3. Set Up the Tracking App
Once the hardware is installed, download the tracker’s dedicated app on your smartphone. Every device comes with its own proprietary software—refer to the user manual for detailed setup instructions.
The app lets you:
- Monitor your car’s real-time location and movement history
- Receive instant alerts if your vehicle is moved without permission
- Track driving habits (e.g., speed, idle time), which may help lower insurance premiums
Boost Your Vehicle Security with AUTOSEEKER
If you want to maximize your car’s safety and efficiency, a GPS tracking system is a must-have. For hassle-free, professional installation, turn to AUTOSEEKER. We offer expert fitting services and personalized consultations to help you choose the best tracker for your vehicle.
AUTOSEEKER also stocks a full range of vehicle security solutions, including:
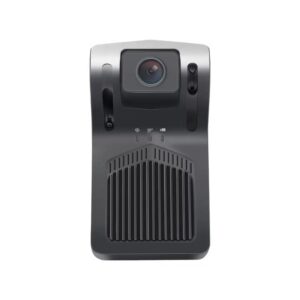
- Dash cam systems
- Advanced GPS trackers
- Parking assistance devices
- Driver behavior monitoring tools
Our products cater to all needs and budgets—visit our website today to explore our full lineup!